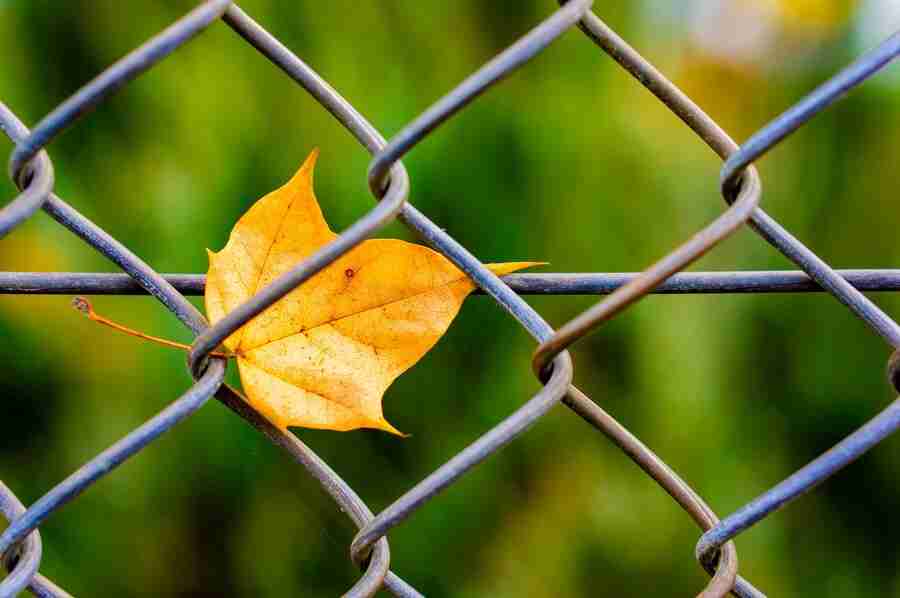
Chain link fences are a ubiquitous sight, adorning residential properties, securing commercial spaces, and delineating public areas. Their popularity stems from their affordability, durability, and versatility. However, installing a chain link fence requires more than just erecting a few posts and weaving wire through them. It demands precision, careful planning, and adherence to a systematic process to ensure a sturdy and long-lasting enclosure.
In this comprehensive guide, we delve into the intricacies of chain link fence installation, providing a step-by-step walkthrough that simplifies the daunting task. From selecting the appropriate materials and tools to preparing the site and executing each stage with precision, this guide equips both DIY enthusiasts and professionals with the knowledge needed to achieve a seamless installation process and a reliable fence structure. Let’s embark on this journey, unraveling the mysteries behind the construction of a robust chain link fence.
Assessing Your Property and Planning the Installation
Before diving into the installation process, it’s crucial to assess your property and plan accordingly. Start by determining the perimeter where the fence will be installed, taking note of any obstacles such as trees, shrubs, or utilities. Consider local building codes and regulations regarding fence height, setback requirements, and property line restrictions.
Assessing the terrain, soil conditions, and slope of the land will help in selecting the appropriate fence design and installation method. Planning ahead ensures that the installation proceeds smoothly and that the finished fence meets both aesthetic and functional requirements.
Gathering Materials and Tools
Preparing for a chain link fence installation begins with gathering the necessary materials and tools. Essential materials include fence fabric (roll of chain link wire), fence posts (corner, end, and line posts), tension bands, caps, rail ends, gate hardware, concrete, and fittings.
Tools required typically include post hole diggers or augers, a level, tape measure, plumb bob, wrenches, wire cutters, and gloves. It’s essential to ensure that all materials are of high quality and suitable for the intended application. Having everything organized and readily available streamlines the installation process and minimizes delays.
Preparing the Site: Clearing and Marking Boundaries
Before installing a chain link fence, it’s crucial to prepare the site by clearing any obstructions and marking the boundaries where the fence will be erected. Remove rocks, debris, and vegetation from the area to ensure a clean and level surface. Use stakes and string to outline the perimeter of the fence, marking the location of corner and gate posts.
Double-check the accuracy of the boundary lines and make any necessary adjustments before proceeding. Proper site preparation lays the foundation for a straight, uniform fence line and prevents potential issues during installation.
Setting the Corner and End Posts
Corner and end posts are critical components of a chain link fence, providing support and stability at key junctures. Start by digging post holes at each corner and end of the fence line, ensuring they are deep enough to accommodate one-third of the post’s length below ground level. Insert the posts into the holes, checking for plumb and alignment with a level and adjusting as needed.
Secure the posts in place by pouring concrete into the holes and allowing it to set. Properly installed corner and end posts form the framework for the entire fence structure and ensure its structural integrity.
Installing Line Posts: Spacing and Alignment
Line posts are intermediate support posts that span the distance between corner and end posts, providing additional stability to the chain link fence. Determine the spacing between line posts based on the height of the fence, with closer spacing for taller fences to prevent sagging.
Using a tape measure and string, mark the locations for each line post along the fence line, ensuring they are evenly spaced and aligned. Dig post holes at the marked locations, taking care to maintain consistent depth and alignment. Insert the line posts into the holes, secure them with concrete, and ensure they are plumb and level. Properly spaced and aligned line posts contribute to the overall strength and integrity of the fence.
Attaching Tension Bands, Caps, and Rail Ends
Tension bands, caps, and rail ends are essential components for securing the chain link fabric to the fence framework and providing a finished appearance. Begin by attaching tension bands to the corner, end, and gate posts using bolts or screws, ensuring they are evenly spaced and aligned with the fence fabric.
Install caps on top of each post to protect them from the elements and provide a clean, polished look. Secure rail ends to the top and bottom rails of the fence framework, ensuring they are tightly fastened and properly aligned. Proper installation of tension bands, caps, and rail ends enhances the stability and aesthetics of the chain link fence.
Weaving the Chain Link Fabric: Techniques and Tips
Weaving the chain link fabric through the fence framework is a crucial step that demands precision and attention to detail. Ensure a successful installation with these techniques and tips:
- Begin by unrolling the fabric along the inside of the fence line, positioning it correctly and aligning it with the posts.
- Alternate between over and under patterns while weaving the fabric through the mesh of the fence framework to create a tight weave.
- Use fence ties or hog rings to secure the fabric to the top rail, bottom tension wire, and line posts at regular intervals to prevent sagging.
- Pull the fabric taut as you weave, ensuring there are no wrinkles or sagging sections that compromise the integrity of the fence.
- Inspect the woven fabric thoroughly for any irregularities or loose sections and make adjustments as necessary to ensure a uniform and secure installation.
Mastering these weaving techniques will result in a sturdy and aesthetically pleasing chain link fence that provides security and durability for years to come.
Securing Gates: Installation and Alignment
Gates are essential for providing access to enclosed areas while maintaining security and privacy. Begin by selecting the appropriate gate size and style based on the intended use and dimensions of the fence opening. Install gate posts at the designated locations, ensuring they are securely anchored and aligned with the fence line.
Attach hinges to the gate frame and gate posts, ensuring they are level and properly spaced. Hang the gate on the hinges and adjust as needed for smooth operation and proper alignment. Install a latch or lock mechanism to secure the gate in the closed position and prevent unauthorized access. Properly installed gates enhance the functionality and accessibility of the chain link fence.
Final Touches and Maintenance Tips
Final touches and maintenance tips are crucial for ensuring the longevity and performance of your chain link fence. After completing the installation process, it’s essential to attend to the finer details and implement regular maintenance practices to keep your fence in optimal condition. Here are some key considerations to keep in mind:
- Regular Inspections: Perform routine inspections of your fence structure to identify any loose fittings, damaged components, or signs of wear and tear. Addressing these issues promptly can prevent further damage and ensure the integrity of your fence.
- Trim Vegetation: Keep vegetation trimmed around the perimeter of your fence to prevent it from encroaching on the structure. Overgrown plants can exert pressure on the fence fabric and posts, leading to potential damage over time.
- Apply Protective Coating: Apply a rust-resistant coating or paint to the fence framework to protect it from corrosion and extend its lifespan. Choose a high-quality coating suitable for outdoor use and reapply as needed to maintain its effectiveness.
- Monitor Tension: Regularly check the tension of the fence fabric and adjust as needed to keep it taut and secure. Loose or sagging sections can compromise the integrity of the fence and diminish its effectiveness as a barrier.
- Prompt Repairs: Address any issues or damage to your fence promptly to prevent further deterioration. Whether it’s replacing a broken component or repairing a damaged section of the fabric, timely repairs can prolong the life of your fence and save you time and money in the long run.
Incorporating these final touches and maintenance tips into your routine can help you preserve the quality and functionality of your chain link fence for years to come.
Mastering the art of chain link fence installation requires careful planning, precise execution, and attention to detail. By following the step-by-step guide provided, you can confidently tackle this project, transforming your property with a durable and reliable enclosure. From assessing your property and gathering materials to weaving the chain link fabric and adding final touches, each stage plays a crucial role in ensuring the success of your fence installation. Remember to prioritize safety, accuracy, and quality throughout the process to achieve optimal results.
Are you ready to enhance your property with a high-quality chain link fence? Contact High Quality Fence today at 209-815-9015 or email us at info@highqualityfence.com. Our team of experts is ready to assist you with professional installation services, premium materials, and personalized guidance to bring your fencing project to life. Don’t hesitate to reach out for a consultation and take the first step towards securing your property with a top-notch fence solution.


