
DIY Fence Installation: A Step-by-Step Guide
Welcome to our comprehensive guide on DIY Fence Installation! If you’ve ever considered adding a fence to your property, you’re in the right place. Fences serve various purposes, from enhancing security and privacy to defining property boundaries and adding aesthetic appeal. While hiring professionals for fence installation is an option, taking on the project yourself can be a rewarding and cost-effective endeavor.
In this step-by-step guide, we’ll walk you through the entire process of planning, preparing, and executing a successful DIY fence installation. Whether you’re a seasoned DIY enthusiast or tackling your first major project, we’ve got you covered with valuable tips, insights, and expert advice.
Before diving into the nitty-gritty details, it’s crucial to understand the importance of proper planning. We’ll help you determine the purpose of your fence, choose the right type of fence for your specific needs, and guide you through the process of obtaining necessary permits and approvals. We’ll also cover essential considerations such as measuring your property boundaries accurately and ensuring compliance with local regulations.
Gathering the right materials and tools is the next critical step. We’ll provide you with a comprehensive list, offer tips on selecting quality materials, and guide you through the process of preparing your installation site. From digging post holes to attaching panels and installing gates, our guide is designed to make your DIY fence installation project a seamless and successful experience.
So, grab your tools and let’s get started on creating a sturdy and beautiful fence that adds value and functionality to your property!
Planning Your Fence
Planning your fence is a crucial step in the DIY installation process, ensuring that you achieve both functionality and aesthetic appeal. Start by clearly defining the purpose of your fence, whether it’s for privacy, security, or to enhance the visual appeal of your property. Understanding your specific needs will guide you in selecting the right type of fence and materials.
Measure and mark your property boundaries accurately, considering any local regulations or neighborhood guidelines. Obtaining necessary permits and approvals is essential before proceeding with the installation to avoid potential legal issues. Failure to comply with local regulations could result in fines or having to redo the entire project.
Additionally, take the time to assess the environmental factors that may impact your fence, such as wind exposure, soil conditions, and the presence of nearby trees or vegetation. This information will influence your choice of materials and the overall design of the fence.
Careful planning also involves creating a detailed layout, marking post locations, and establishing a clear vision for the project. This stage is an opportunity to make adjustments and customize your fence to suit your preferences. With a well-thought-out plan, you can proceed confidently to the next steps of the DIY fence installation process, setting the foundation for a successful and satisfying project.
Gathering Materials and Tools
Gathering the right materials and tools is a crucial step in ensuring the success of your DIY fence installation. Here’s a comprehensive list to guide you through this stage:
Materials:
- Fence Panels/Boards: Choose the type of panels or boards that align with your aesthetic and functional preferences. Common materials include wood, vinyl, metal, or composite.
- Fence Posts: Select sturdy and rot-resistant posts, considering the height and type of fence. Common options include wooden, metal, or vinyl posts.
- Concrete Mix: For securing the fence posts into the ground, use high-quality concrete mix to ensure stability.
- Rails: Horizontal elements that connect the fence posts and provide structural support to the panels. The number of rails depends on the fence type.
- Gate Materials: If your fence includes gates, gather gate panels, hinges, latches, and any additional hardware required for installation.
- Fasteners: Choose appropriate screws or nails based on the materials of your fence panels and posts. Consider galvanized or stainless steel options for durability.
- Gravel: Use gravel for drainage at the bottom of each post hole to prevent water accumulation, which can lead to rot.
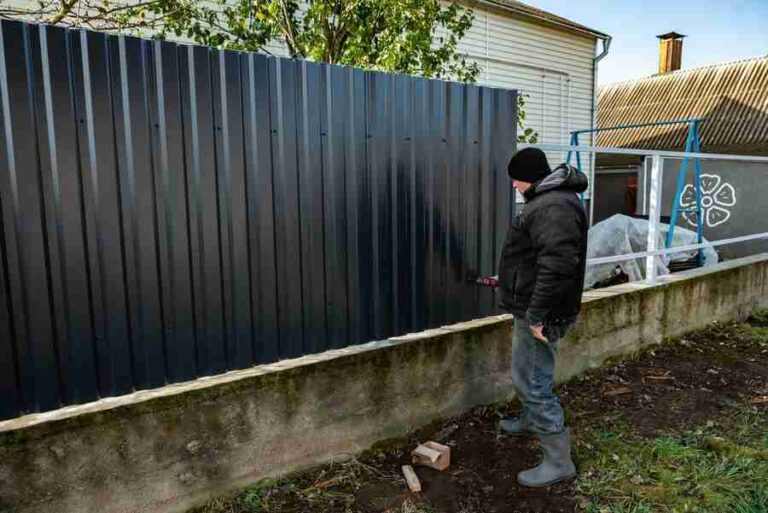
- Finishing Materials: Stain, paint, or sealant to protect the fence from the elements and enhance its longevity. Choose a product suitable for the type of material in your fence.
- Caps or Finials: Optional decorative elements that can be added to the tops of posts for aesthetic appeal.
Tools:
- Measuring Tools: Tape measure and a level for accurate measurements and ensuring the fence is level.
- Marking Tools: Spray paint, stakes, or string to mark the fence line and post locations.
- Post Hole Digger or Auger: For digging holes to the appropriate depth and diameter for your fence posts.
- Concrete Mixing Tools: Wheelbarrow, shovel, and a mixing tool for preparing and pouring concrete.
- Circular Saw or Miter Saw: For cutting fence panels, boards, and rails to the desired length.
- Power Drill: To attach panels, boards, and rails to the posts, as well as for installing hardware.
- Hole Saw: If you’re adding decorative caps or finials to your fence posts.
- Safety Gear: Work gloves, safety glasses, and ear protection to ensure your safety during the installation process.
By gathering these materials and tools beforehand, you’ll be well-prepared to tackle each step of the DIY fence installation process efficiently and effectively.
Preparing The Site
Preparing the site for your DIY fence installation is a crucial step that lays the groundwork for a sturdy and visually appealing result. This phase involves several key tasks to ensure the area is ready for the actual construction. Here’s a detailed look at “Preparing the Site”:
A. Clearing the Area and Removing Obstacles
- Remove Vegetation: Clear the designated area of any grass, weeds, or plants that may interfere with the fence installation. Trim overhanging branches and bushes.
- Clear Debris: Remove rocks, stones, or any debris that could obstruct the fence’s foundation. This ensures a clean, even surface for installation.
B. Checking for Underground Utilities
- Call Before You Dig: Contact your local utility companies to mark the location of underground utilities. This helps prevent accidental damage to water, gas, or electrical lines during post-hole digging.
- Map Utility Lines: Use the utility markings to map out where the underground lines run. Adjust the fence layout if necessary to avoid these areas.
C. Properly Marking Post Locations
- Layout Considerations: Use stakes and string to outline the fence perimeter. Ensure corners are square, and take into account gate placements.
- Marking Post Spacing: Measure and mark the planned intervals for fence posts. Consistent spacing is vital for a professional and structurally sound installation.
D. Tips for Leveling and Preparing the Ground
- Level the Ground: Use a level to ensure that the ground is even and flat along the fence line. This step is critical for maintaining a straight and aesthetically pleasing fence.
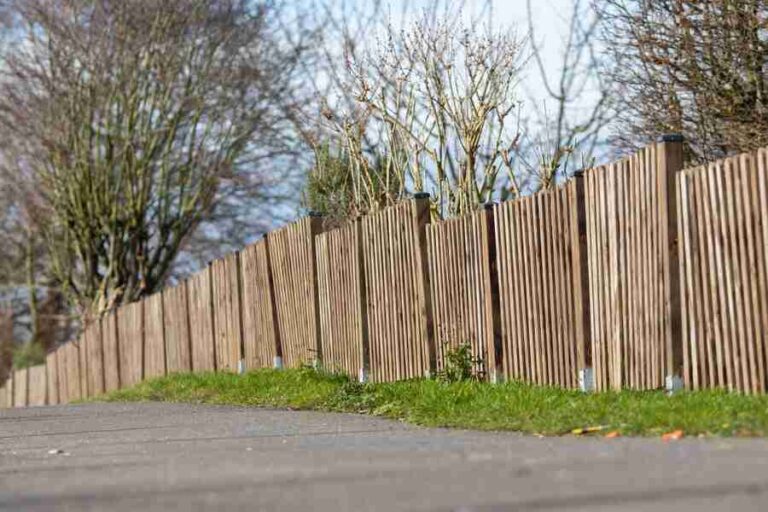
- Consider Sloped Terrain: If your land is sloped, plan for stepped panels or raked (sloping) fence sections to accommodate the terrain.
By thoroughly preparing the site, you create a solid foundation for the subsequent stages of fence installation. Taking the time to clear the area, identify potential hazards, and properly mark post locations sets the stage for a smoother and more successful DIY project.
Setting The Posts
- Digging Post Holes:
- Use a post hole digger to create holes at the marked locations. The depth and diameter of the holes will depend on the type of fence and local building codes.
- Maintain a consistent depth for each hole, usually about one-third of the length of the post.
- Preparing the Holes:
- Clear the holes of debris and make sure they are free from any obstructions that could affect the stability of the posts.
- Consider using gravel at the bottom of each hole to facilitate drainage and prevent wood posts from direct soil contact.
- Adding Concrete:
- Mix concrete according to the manufacturer’s instructions. Typically, a fast-setting concrete mix is recommended for fence posts.
- Place the post in the center of the hole and pour concrete around it, leaving about 2-3 inches from the top of the hole.
- Ensuring Proper Alignment:
- Use a level to ensure the post is perfectly vertical. Make adjustments as necessary before the concrete sets.
- Double-check the alignment of all posts, especially for corner and gate posts, to ensure a straight and uniform fence line.
- Allowing Concrete to Cure:
- Follow the recommended curing time for the concrete, usually at least 24 hours. Avoid putting excessive weight or stress on the posts during this period.
- Securing Posts with Bracing (Optional):
- For added stability, consider using temporary bracing. Attach two diagonal braces to each post, forming an “X” shape. This prevents the posts from leaning during the curing process.
- Checking Spacing:
- Ensure proper spacing between posts according to your fence design. This step is crucial for achieving a uniform and visually appealing result.
Troubleshooting Common Issues
Troubleshooting common issues during the DIY fence installation process is essential to ensure the longevity and functionality of your fence. Here’s a guide to address some typical problems that may arise:
Uneven Panels or Gaps:
- Issue: Panels are not aligned correctly, leading to uneven gaps.
- Solution: Double-check the alignment of the posts and adjust accordingly. Use a level to ensure panels are straight. If gaps persist, consider trimming or adjusting individual panels.
Leaning or Unstable Posts:
- Issue: Fence posts are leaning or feel unstable.
- Solution: Reinforce the posts by adding more concrete around the base or using braces for support. Ensure that the depth of the post holes is adequate, and the concrete has set properly before attaching panels.
Issues with Gates:
- Issue: Gates not swinging or closing properly.
- Solution: Check the alignment of the gate posts and make adjustments as needed. Lubricate hinges and ensure they are securely attached. If the gate is sagging, install a diagonal brace to provide additional support.
Dealing with Environmental Factors:
- Issue: Fence panels or posts affected by weather conditions.
- Solution: Use weather-resistant materials, and apply sealants or coatings to protect against moisture. Regularly inspect the fence for any signs of damage, especially after severe weather events, and promptly address any issues.
Overcoming Sloped or Uneven Terrain:
- Issue: Difficulty installing the fence on sloped or uneven ground.
- Solution: Adjust the height of the posts to accommodate the slope. Use stepped panels or custom-cut panels to maintain a consistent height. Terrace the fence by creating small steps for a seamless look.
By addressing these common issues promptly and effectively, you can ensure that your DIY fence installation stands the test of time, providing the desired functionality and aesthetic appeal for your property. Regular maintenance and periodic inspections can also help prevent potential issues from escalating.
In conclusion, embarking on a DIY fence installation journey can be a rewarding endeavor, offering a sense of accomplishment and a personalized touch to your property. By meticulously planning each step, from defining the purpose of your fence to troubleshooting potential issues, you pave the way for a successful project. Remember that attention to detail during the planning phase ensures the stability and longevity of your fence. As you stand back and admire the finished result, you’ll appreciate the effort invested in creating a boundary that not only enhances security and privacy but also contributes to the overall aesthetics of your outdoor space. Embrace the satisfaction of a well-installed fence and relish the transformed appeal it brings to your home.