
Vinyl Fence Installation: A Step-by-Step Guide
Vinyl fencing has become famous for homeowners seeking a durable, low-maintenance alternative to traditional materials. Its versatility, longevity, and aesthetic appeal make it an attractive option for property boundaries. This comprehensive guide delves into the intricate process of vinyl fence installation, breaking down each step to ensure a successful and lasting outcome. From meticulous planning to final touches, this step-by-step guide equips you with the knowledge to confidently embark on your vinyl fencing project.
Planning Your Vinyl Fence Installation
Planning is the cornerstone of any successful vinyl fence installation project. Before you dive into the physical aspects, take the time to strategize and organize your approach carefully. Here’s a breakdown of crucial steps in the planning phase:
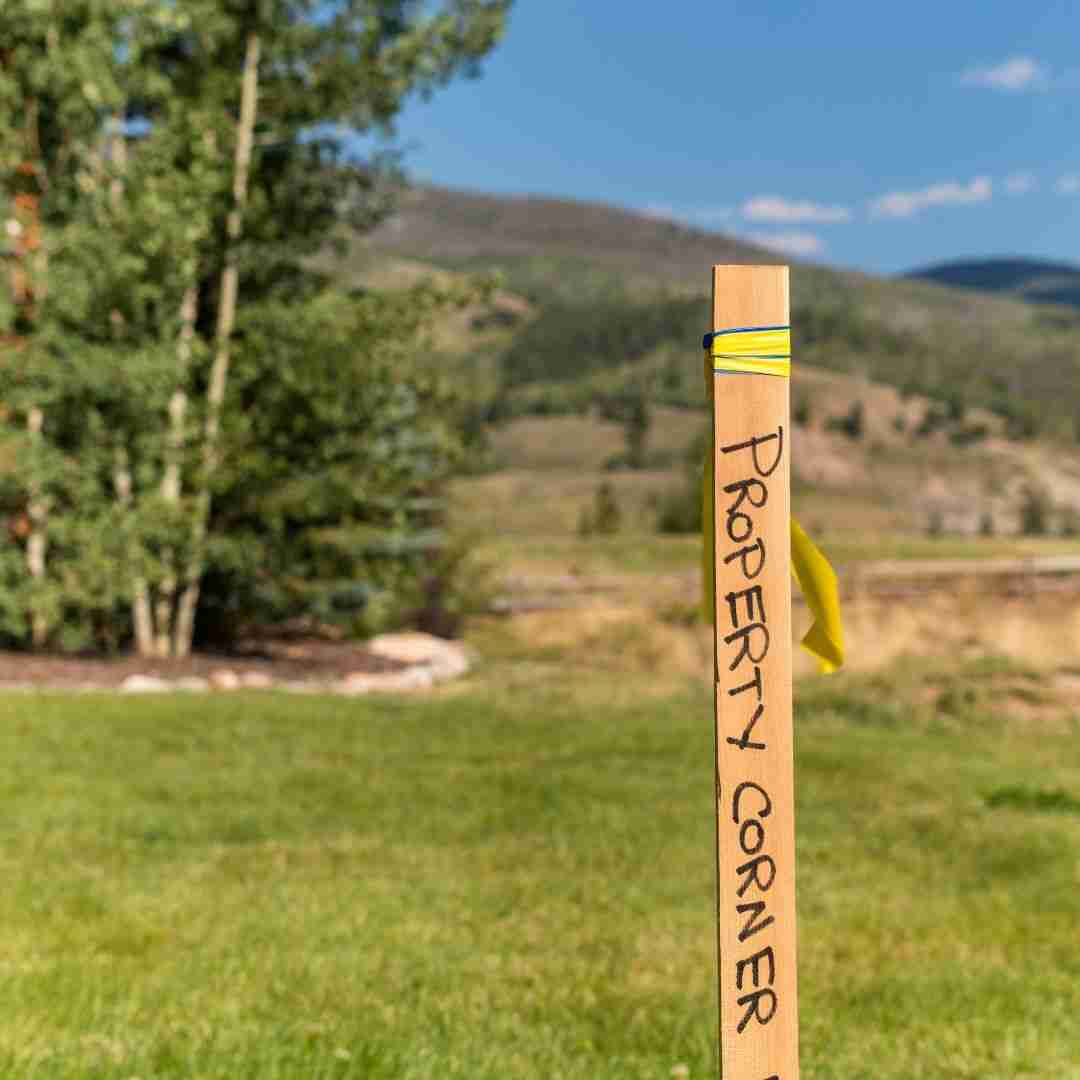
- Assessing Your Property and Marking Boundaries: To understand its layout and boundaries, survey your property. Identify any potential obstacles or challenges that may affect the fence installation process. Use stakes or markers to demarcate the boundaries clearly where the fence will be installed.
- Determining the Fence Height and Style: Consider your specific needs and preferences when selecting the height and style of your vinyl fence. Whether you prioritize privacy, security, or aesthetics, these factors will influence your choice. Comply with local regulations or homeowners’ association guidelines regarding fence height and style.
- Calculating Materials Needed: Accurately estimate the required materials for your project. This includes vinyl fence panels, posts, cement, screws, and any additional accessories. Taking precise measurements and factoring in the overall length of the fence will help you avoid shortages or excess materials.
- Checking Local Regulations and Obtaining Necessary Permits: Before initiating the installation, familiarize yourself with local regulations and obtain any required permits. Municipalities often have specific rules regarding fence height, setback distances, and property lines. Ensure compliance to avoid potential legal issues down the line.
Gathering Materials and Tools
With your comprehensive plan in place, the next crucial step in your vinyl fence installation journey is gathering the necessary materials and tools. Ensuring you have everything on hand before starting the physical work is essential for a smooth and efficient process. Here’s a detailed look at what you’ll need:
Essential Tools for Vinyl Fence Installation:
- Post Hole Digger Or Auger
- Level
- Tape Measure
- Circular Saw Or Hacksaw.
- Cordless Drill With Screwdriver Bits
- Rubber Mallet Or Hammer
- Shovel
- String Line And Stakes For Layout
Choosing the Right Vinyl Fence Panels and Posts:
Selecting the appropriate vinyl fence panels and posts is pivotal for a sturdy and visually pleasing outcome. Consider factors such as panel design, color, and thickness. Choose posts that match the style of your panels and are designed for the specific terrain of your property.
Additional Materials:
- Cement: For securing the fence posts in the ground.
- Screws: Use corrosion-resistant screws to attach panels to posts securely.
- Post Caps: Enhance the aesthetic appeal of your fence while protecting the posts from the elements.
- Gate Hardware: If your installation includes gates, gather the necessary hinges, latches, and handles.
Having all materials and tools readily available streamlines the installation process and minimizes disruptions. Double-check your inventory before commencing the physical work to ensure everything is noticed. This proactive approach sets the stage for a well-organized and efficient vinyl fence installation experience.
Preparing the Site
Properly preparing the installation site is crucial before placing vinyl fence posts into the ground. This phase involves several vital steps to ensure a stable foundation for your fence. Here’s a detailed guide to help you navigate the site preparation process:
- Clearing Vegetation and Debris: Remove any vegetation, bushes, or debris from the designated fence area. Clearing the site provides a clean slate for installation and prevents interference with the fence structure over time.
- Marking Post Locations and Aligning the Fence Layout: Mark the exact locations for each fence post using your previously established boundaries. Use stakes or markers to identify clearly where the posts will be placed. Use a string line to ensure a straight and even layout, guiding the alignment of both posts and panels.
- Digging Post Holes and Ensuring Proper Depth and Spacing: Use a post hole digger or auger to dig holes for your vinyl fence posts. The depth and spacing of these holes are critical factors for the stability of your fence. Refer to the manufacturer’s guidelines for specific depth recommendations based on your fence style and local soil conditions.
- Ensuring Proper Alignment and Leveling: As you place the posts into the holes, use a level to ensure they are straight and plumb. Proper alignment at this stage is crucial for the overall stability and appearance of the fence. Adjust as needed, adding or removing soil to achieve the desired level.
- Backfilling and Tamping: Backfill the holes with soil once the posts are in position and adequately aligned. Tamp down the soil firmly around each post to provide additional stability. Ensure that the posts remain in their correct positions during this process.
Installing Vinyl Fence Posts
Installing vinyl fence posts is a critical phase in the overall construction process, as the stability of your fence largely depends on the secure anchoring of these posts. Follow this step-by-step guide to ensure a robust foundation for your vinyl fence:
- Inserting Posts into the Holes: Carefully place each vinyl fence post into its hole. Ensure that the posts are aligned with the markings you made during the planning phase. Take your time to position them accurately, as any misalignment at this stage can impact the entire fence structure.
- Using Cement for Secure Anchoring: To enhance stability and longevity, it’s advisable to use cement to anchor the vinyl fence posts. Mix the cement according to the manufacturer’s instructions and pour it into the post holes around the base of each post. This secures the posts in place and helps prevent shifting over time.
- Checking for Level and Adjusting as Needed: Use a level to ensure each post is perfectly vertical and aligned. Make any necessary adjustments by tapping the post gently with a rubber mallet or adding more cement as required. This meticulous attention to detail ensures that your fence stands straight and true.
- Allowing Time for Cement to Set: Cement requires time to cure and set properly. Follow the recommended curing time provided by the cement manufacturer before moving on to the next steps of the installation process. This waiting period is crucial for the overall stability of your vinyl fence.
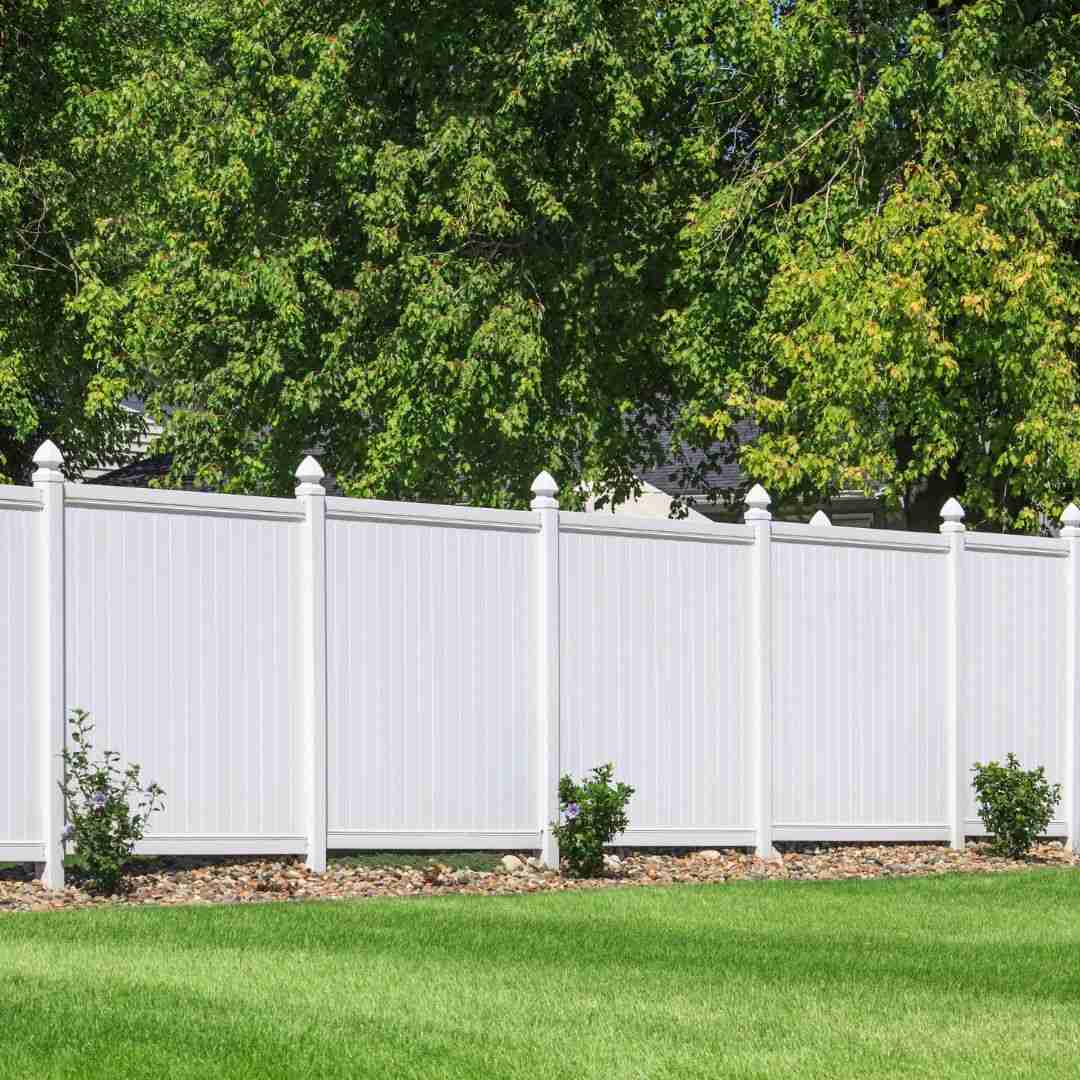
Attaching Vinyl Fence Panels
With your vinyl fence posts securely anchored, it’s time to attach the vinyl fence panels. Begin by aligning the panels with the installed posts, ensuring a seamless and visually appealing fit. Secure the panels to the posts using corrosion-resistant screws or the recommended fasteners provided by the manufacturer.
Maintain consistent spacing between panels and posts, periodically checking with a level to ensure a straight and level installation. The interlocking design of vinyl panels simplifies the attachment process, allowing for a secure and aesthetically pleasing fence. Take your time during this step to achieve a well-aligned and professionally finished appearance for your vinyl fence.
Adding Gates and Accessories
Enhance the functionality and appeal of your vinyl fence by seamlessly integrating gates and accessories. When adding gates, install gate posts and hinges, ensuring precise alignment for smooth operation. Follow the manufacturer’s guidelines to secure the gate securely.
Complete the look of your vinyl fence by incorporating accessories such as postcaps, decorative elements, or even lights. These finishing touches not only elevate the visual appeal but also contribute to the durability of your fence. Take the time to carefully install gates and accessories, as they are the final elements that transform your vinyl fence into a stylish and fully functional enclosure for your property.
Securing the Vinyl Fence
Securing your vinyl fence is a pivotal step in the installation process, ensuring its stability and longevity. Follow these critical measures to fortify your fence:
- Inspecting the Entire Installation: Conduct a thorough inspection of the entire fence line, checking each post and panel for stability and alignment. Address any issues promptly to prevent further complications.
- Making Necessary Adjustments: Make the required adjustments if you identify any misalignments or inconsistencies. This may include tightening screws, re-leveling posts, or addressing any unforeseen challenges that may have arisen during the installation.
- Cleaning and Maintaining: Clean the vinyl fence surfaces to remove any construction residue. Regular maintenance, including cleaning and occasional inspections, contributes to the fence’s aesthetic appeal and ensures its durability against the elements.
Troubleshooting Common Issues
Despite careful planning, vinyl fence installations may encounter common issues that require prompt attention. Addressing these challenges ensures the long-term stability and visual appeal of your fence. Here’s a guide to troubleshooting common problems:
- Uneven Panels or Posts: Check for proper alignment if panels or posts appear uneven. Adjust the position of individual panels or posts, ensuring they are level and plumb. Use a level and, if needed, a rubber mallet for gentle adjustments.
- Repairing Minor Damages: Use a vinyl fence repair kit for minor damages such as scratches or scuffs. Follow the manufacturer’s instructions to fix minor imperfections and maintain the fence’s aesthetic appeal.
- Gate Operation Issues: Inspect hinges and latches for misalignment if gates are not operating smoothly. Adjust as necessary and lubricate moving parts to ensure easy operation. Tighten any loose screws or bolts.
- Seeking Professional Assistance: For major problems, such as structural issues or significant damage, it’s advisable to seek professional assistance. Contact a fence installer or a vinyl fence specialist to assess and address complex challenges.
Conclusion
In conclusion, mastering the art of vinyl fence installation involves careful planning, precise execution, and a keen eye for detail. Following this step-by-step guide ensures not only the longevity and stability of your fence but also elevates the aesthetic appeal of your property. At High Quality Fence, we understand the importance of a well-installed vinyl fence, offering functionality and charm.
If you’re ready to transform your property with a high-quality vinyl fence, contact us at 209-815-9015 or info@highqualityfence.com. Visit our website at https://highqualityfence.com/ to explore our range of vinyl fencing options and embark on your journey toward a durable and visually stunning fence. Your satisfaction is our priority at High-Quality Fence!